
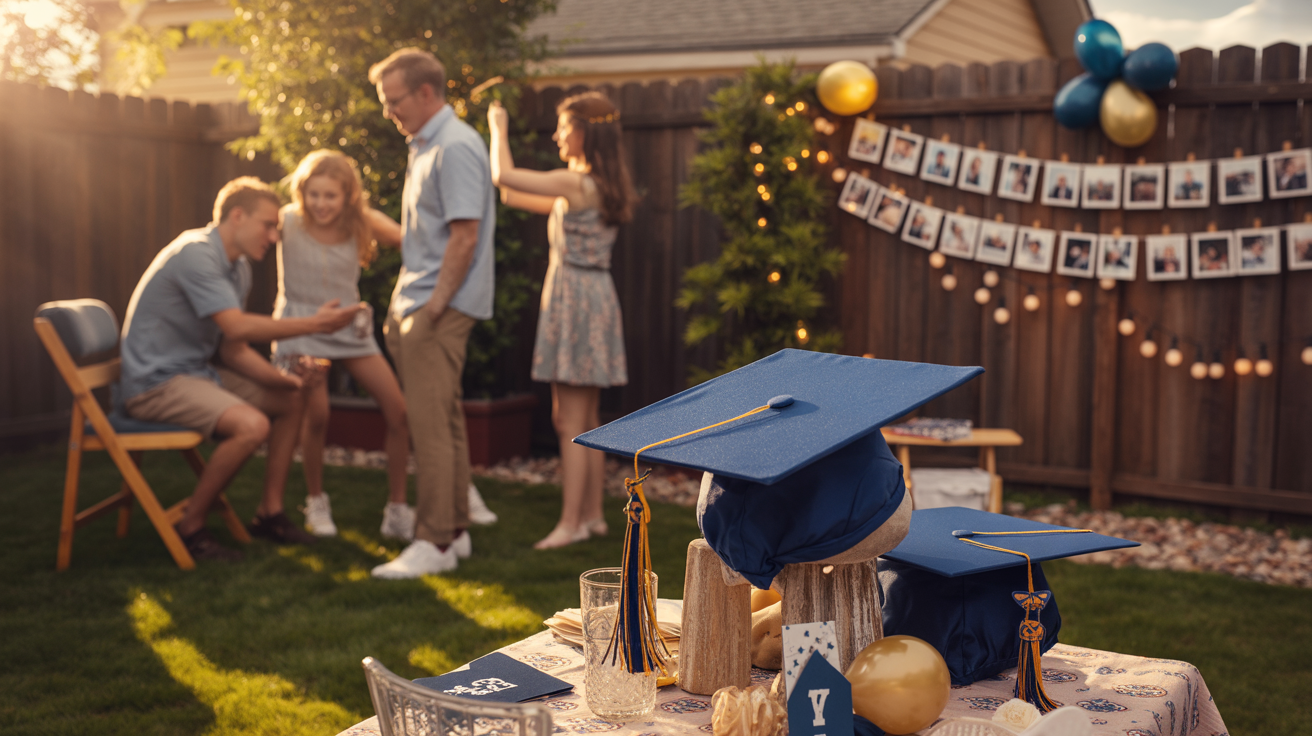
When my seniors were little, a birthday party meant making elaborate Lego cakes and creating a Diego animal hunt in the house. Now I’m planning a high school graduation party (for two), and somehow it feels bigger than the whole school year.
The good news is this, it doesn’t have to be complicated to feel special. I can keep it low-stress, make it look great in photos, and still leave room actually to enjoy the day. These ideas work in a backyard, a park pavilion, or even a living room, and I can scale the cost up or down.
Before I pick anything, I match the party to my kid. Sports, arts, STEM, outdoors, quiet and cozy, loud and social, it all works when the details fit them.
TL;DR
- You can host a personal high school graduation party on a budget by picking one clear theme and repeating it across decor, food, and a simple photo area.
- Save money by choosing a low-cost venue (home, backyard, or a local park) and hosting during an off-peak time (brunch or dessert).
- Serve crowd pleasing, budget friendly food by using a taco bar, pasta bar, or snack board setup instead of individual plated meals.
- Make it feel personal with a memory display (photos, a slideshow, or a “favorite moments” board) and a simple guest message book.
- Keep costs predictable by setting a per person budget, limiting rentals, and using a short, focused shopping list.
Start with a simple plan that keeps the day fun (not frantic)
I plan the basics first, because the party runs smoother when the foundation is solid. I pick a date and a time window (an open house works well), set a guest count range, choose a home base (backyard, garage, community room, or park), and lock in a rain plan. Once those are set, everything else feels easier.
Here’s the simple flow I follow.
Week before: confirm the guest list, order any food trays, gather extra chairs, test a speaker, and do a quick supply run (cups, napkins, trash bags). I also print anything I need, like labels or photo signs.
Day of: set up seating and shade first, then decor and games, then drinks, then food last. I place trash and recycling bins early, so guests see them right away. For bathrooms, I stock soap, hand towels, and extra toilet paper, then I put a small “bathroom” sign near the hall.
To keep it calm, I stick to a short must-have list: food, drinks, seating, shade, music, trash plan, and bathroom check. Everything else is a bonus.
A fast budget map, so I don’t overspend
Before I buy anything, I split the budget into four buckets: food and drinks, seating or rentals, decor, and one wow moment (usually a photo setup or a special dessert). This prevents the “little purchases” from piling up.
This table helps me choose a level without guessing.
| Low | Snacks, one main tray, self-serve drinks | Borrow chairs, use blankets | Simple colors, printed signs | One photo wall |
| Mid | Taco bar or sub trays, dessert board | Rent a few tables or chairs | Balloon garland, centerpieces | Mocktail bar |
| Higher | Catered meal or multiple stations | Tables, chairs, shade tent | Coordinated look plus lighting | Photo station plus keepsake banner |
To cut costs fast, I borrow coolers and folding tables, use digital invites, and skip a full meal in favor of a snack board plus one hot option. People remember the vibe more than the menu.
Pick a party “style” that matches my senior
Once I choose a style, decisions get quicker. I keep it simple and pick what fits their personality and our schedule.
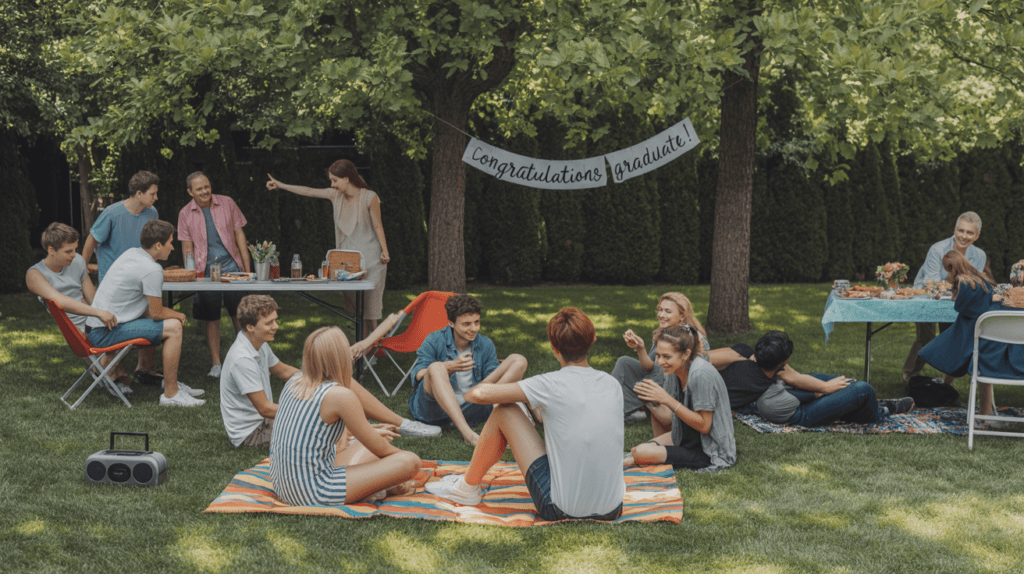
An open house is my go-to, because guests can drop in. A backyard bash works if my senior wants music and lots of friends. A brunch feels relaxed and finishes early, which is great during busy sports weekends. A dessert party saves money and setup time. A pool party is easy in warm weather, but I plan towels and a dry zone. For big groups on a budget, a park picnic is hard to beat, as long as I reserve a pavilion.
For introvert seniors, I shorten the window and build in seating nooks. For extroverts, I add one group activity so people mix instead of clustering.
10 DIY high school graduation party ideas that look amazing and cost less
I like DIY party pieces that pull double duty. They decorate the space, start conversations, and keep guests busy in a good way. Here are my favorites, grouped so I can mix and match without overdoing it.
DIY decor and photo moments guests will actually use
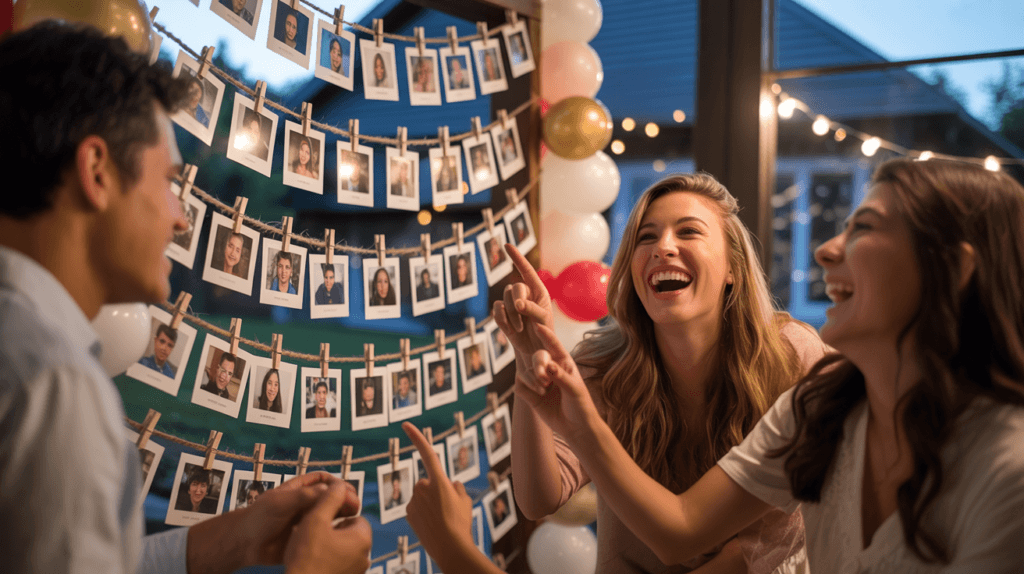
1) Photo timeline wall (kindergarten to senior year)
What it is: a photo “clothesline” wall with years labeled. Why it’s fun: everyone stops and tells stories. Materials (printed photos, twine, mini clothespins, painter’s tape, letter stickers).
How-to: 1) Tape twine in 2 to 3 rows. 2) Clip photos in order. 3) Add year labels.
Size and time: for 30 to 60 guests, plan 40 to 70 photos, 20 to 30 minutes to hang. Personal tip: add one “inside joke” photo near the end.
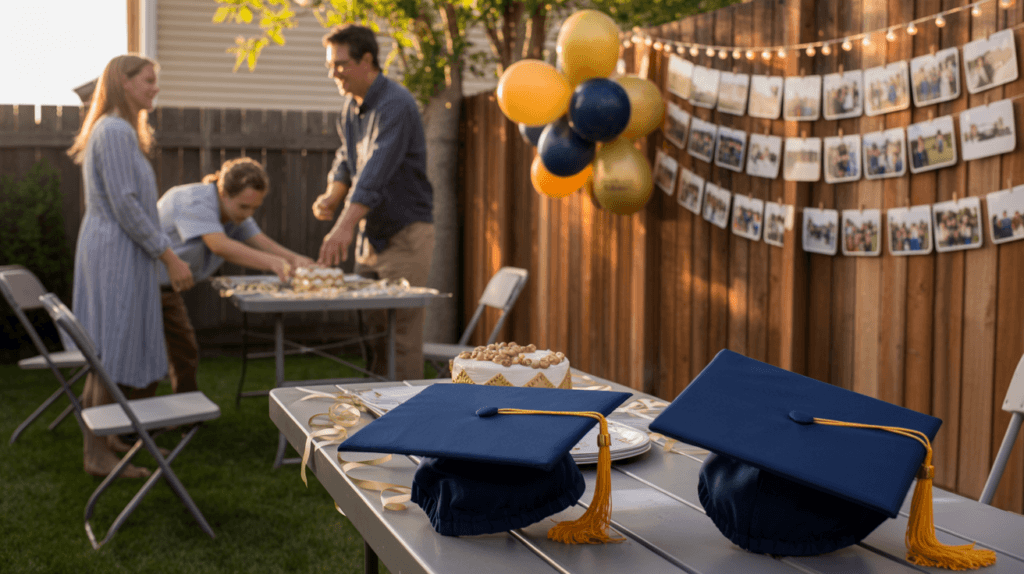
2) Balloon garland in school colors
What it is: a balloon cluster arch on a doorway, fence, or simple frame. Why it’s fun: it screams “celebration” in every picture. Materials (balloons in 2 to 3 colors, balloon strip, hand pump, command hooks, or zip ties).
How-to: 1) Inflate mixed sizes. 2) Attach to the strip. 3) Anchor and fluff gaps.
Size and time: 12 to 15 feet suits 30 to 60 guests, 45 to 75 minutes. Personal tip: tuck in a few metallic balloons that match the school mascot.
3) Memory lane centerpieces with jars and lights
What it is: mason jars with mini photos and warm fairy lights on tables. Why it’s fun: guests pick them up and actually look at them. Materials (mason jars, battery fairy lights, mini photo prints, sand or beads, tape).
How-to: 1) Add sand or beads for weight. 2) Tape photos inside the jar. 3) Drop in the lights and turn on.
Size and time: for 30 to 60 guests, 6 to 10 centerpieces work well, 30 minutes total. Personal tip: mix photos from school clubs, games, and friends.
4) “Then and now” photo station
What it is: a backdrop where guests recreate an old pose from a printed photo. Why it’s fun: it creates instant laughter and shareable shots. Materials (backdrop sheet or curtain, two stools, clothespins, printed “then” photos, a phone tripod).
How-to: 1) Hang the backdrop in good light. 2) Clip a “then” photo on the side. 3) Pose and snap with a timer.
Size and time: one station serves 30 to 60 guests easily, 15 to 20 minutes to set. Personal tip: use a favorite childhood sports pose or a band recital bow.
DIY food, drinks, and activities that keep everyone smiling
Food goes out last, especially anything cold or creamy. If it can spoil, it doesn’t sit out for hours.
5) Make-your-own taco or nacho bar
What it is: a build-your-own station with labeled toppings. Why it’s fun: picky eaters still win. Materials (taco meat or beans, tortillas or chips, shredded cheese, salsa, lettuce, sour cream, labels).
How-to: 1) Set bases first. 2) Add toppings in a line. 3) Put labels in front.
Portions and safety: plan 2 tacos per adult, keep hot food hot and refill from the kitchen; prep toppings the night before.
6) Dessert board with dressed-up store treats
What it is: a big tray of cookies, brownies, and candy with cute labels. Why it’s fun: it looks fancy but takes minutes. Materials (store-bought desserts, school-color candy, parchment paper, label cards, tongs).
How-to: 1) Line the board. 2) Group items by type and color. 3) Add labels and tongs.
Portions and safety: aim for 3 to 5 dessert bites per person; make ahead, cover, then set out close to the start time.
7) Signature mocktail bar with two pitchers
What it is: two non-alcoholic drinks with fun names and a “mix-in” tray. Why it’s fun: guests feel included, including kids and grandparents. Materials (2 pitchers, ice tub, cups, striped paper straws, fruit slices, printable drink cards).
How-to: 1) Mix two drinks (like citrus punch and berry lemonade). 2) Set cups and straws. 3) Add “mix-ins” beside the pitchers.
Portions and safety: plan 2 drinks per guest, keep ice separate so it doesn’t water down; mix bases earlier in the day and chill.
8) Advice and wishes jar with quick prompts
What it is: guests write short notes for the grad. Why it’s fun: it becomes a keepsake that doesn’t feel cheesy. Materials (jar or box, cards, pens, 6 to 8 prompt strips).
How-to: 1) Put prompts in a small frame. 2) Set cards and pens beside the jar. 3) Ask a helper to invite early guests to start it.
Make-ahead note: set it up the night before; personal tip is to add one prompt tied to their next step (college, job, trade school).
9) Graduation bingo or photo scavenger hunt
What it is: a simple game that works for mixed ages. Why it’s fun: it gets people talking, not staring at phones. Materials (printed bingo or hunt cards, clipboards or hard surfaces, pens, a small prize).
How-to: 1) Hand cards out near the entry. 2) Announce a casual deadline. 3) Let guests turn in completed cards for a prize.
Make-ahead note: print 20 to 30 cards for a 30 to 60 guest party; personal tip is to add squares like “took a photo with the grad” or “met a teacher.”
10) DIY “Class of” keepsake banner for signatures
What it is: a banner guests sign with paint pens. Why it’s fun: everyone adds a message, then the grad can hang it later. Materials (plain fabric banner or canvas drop cloth, stencils, paint pens, twine).
How-to: 1) Paint or stencil “Class of 2026.” 2) Hang it at eye level. 3) Set pens on a small table and let people sign.
Make-ahead note: paint the banner 2 days early so it cures; personal tip is to add their name or jersey number in a corner.
Make it feel personal with little touches that hit big
I’ve learned that personality beats perfection. A few small choices can make the party feel like it’s about my senior, not a generic event. I choose two or three “identity” details and repeat them lightly, like school colors, a favorite hobby, or a future plan (nursing, welding, engineering, art school, military, anything).
Photos do a lot of work here, because they connect every generation. I mix action shots with everyday moments. I also add a short printed sign near the timeline wall that says what I’m proud of (one sentence, not a speech). That one line becomes a sweet photo, too.
When I’m tempted to add more decor, I stop and ask, will guests interact with this? If the answer is no, I skip it and put that time into comfort. Extra chairs and cold water beat fancy table scatter every time.
Music, slideshows, and stories that don’t take all week
Music sets the mood fast, so I keep it easy. I make a shared playlist and let my senior add songs for a week. If I want it tighter, I build a 10-song “senior highlights” set and play it at the start when the first guests arrive.
For a slideshow, I don’t overthink it. I pick 30 to 50 photos from my phone albums, keep them in order, then play it on a TV with captions off. Volume matters, so I keep music low enough for grandparents to talk without leaning in.
To add heart without pressure, I ask three people ahead of time for short toast stories (one coach, one friend, one family member). I tell them to keep it under a minute.
Party favors that won’t end up in the trash
I like favors people actually use or eat. Practical wins. Depending on the crowd, I choose from mini snack bags, custom stickers, photo strips printed at home, candy cups in school colors, seed packets, or a printed senior photo.
As a rule of thumb, I make favors for about 70 to 80 percent of the guest count. Not everyone takes one, and that’s fine. I place them near the exit in a shallow basket, because guests grab them naturally on the way out.
If I’m doing photo strips, I set out a small sign that says “Take one, leave one for the guest book.” That keeps the grad from losing every last copy.
Day-of setup that runs smoothly, even if the weather flips
On party day, I set up the space for flow. I keep food away from the entry, so arrivals don’t jam the serving area. Next, I create two seating zones (one chatty, one quiet) and place the photo spot where the light is flattering. Shade matters, so I watch the sun for 10 minutes before I commit.
Trash bins go in plain sight, with extra liners tucked inside the bottom. I also tape down extension cords where people walk, and I keep bug control simple (fans, citronella outside only, and covered drinks). If pets get stressed, I give them a safe room early.
My easiest rain plan is to move food and drinks into the garage or living room, then keep the photo wall under a covered spot. Guests don’t mind a little weather when the layout still makes sense.
A simple party timeline I can follow
I block the day like this, because it keeps me from doing everything at once.
3 hours before: set up tables, seating, and shade, then hang the big decor (balloons, timeline). Put out trash bins and bathroom supplies.
2 hours before: set up games and the advice jar, then test music and the slideshow. Fill coolers with ice, but keep drinks sealed.
1 hour before: prep the serving line with labels, plates, and utensils, then stage refills in the fridge. Assign two helpers (one for food refills, one for photos and quick cleanup).
15 minutes before: put out cold drinks, then bring out food last. Light candles only if they’re safe and supervised, otherwise skip them.
During the party: restock every 30 to 45 minutes, and rotate the grad through photos so no one gets missed.
After: pack leftovers first, then strip tables, then take down decor. I leave the deep clean for tomorrow if I can.
Ready to celebrate (without doing it all)
I don’t need every idea to throw a great party. When I pick 3 to 5 things and do them well, the whole day feels lighter. That’s the point, because this milestone deserves joy, not stress.
If I want a simple next step, I save this checklist, send it to a co-host, and choose one DIY idea to start today. The cap and gown moment is coming fast, and I want to be present for it.
Frequently Asked Questions
How do I plan a graduation party that feels personal without spending a lot?
Pick one “story” for the party, like school colors, a future college, a hobby, or a favorite era. Then reuse that idea across a few spots: one statement sign, one memory table, and one simple food setup. Keeping the personalization focused makes it feel thoughtful, not expensive.
What are the cheapest food options for a graduation party?
Self serve bars are usually the best value because they scale well. Good options include a taco bar, baked potato bar, pasta bar, hot dog bar, or a dessert and punch party. In addition, keep the menu tight (one main, two sides, one sweet) to cut waste.
How many people should I invite to keep the budget under control?
Start with your maximum budget, then set a per person cap (food, drinks, plates, and a little extra). After that, invite in waves: must haves first, then nice to haves if the budget allows. A smaller guest list is the fastest way to reduce total cost.
What are easy, low cost ways to decorate a graduation party?
Use what already looks like a party: balloons, a simple banner, and one photo backdrop spot. Besides that, use printed photos, school colors, and items you already own (frames, string lights, mason jars) instead of buying new decor for every surface.
What are simple activities or games that don’t cost much?
Go for “set it and forget it” activities like a message jar, advice cards, a photo timeline guessing game, or a playlist request sign. These fill time, feel personal, and don’t require buying prizes or running organized games all day.